
Steam Boiler Boil Outs, The Big Why & How?
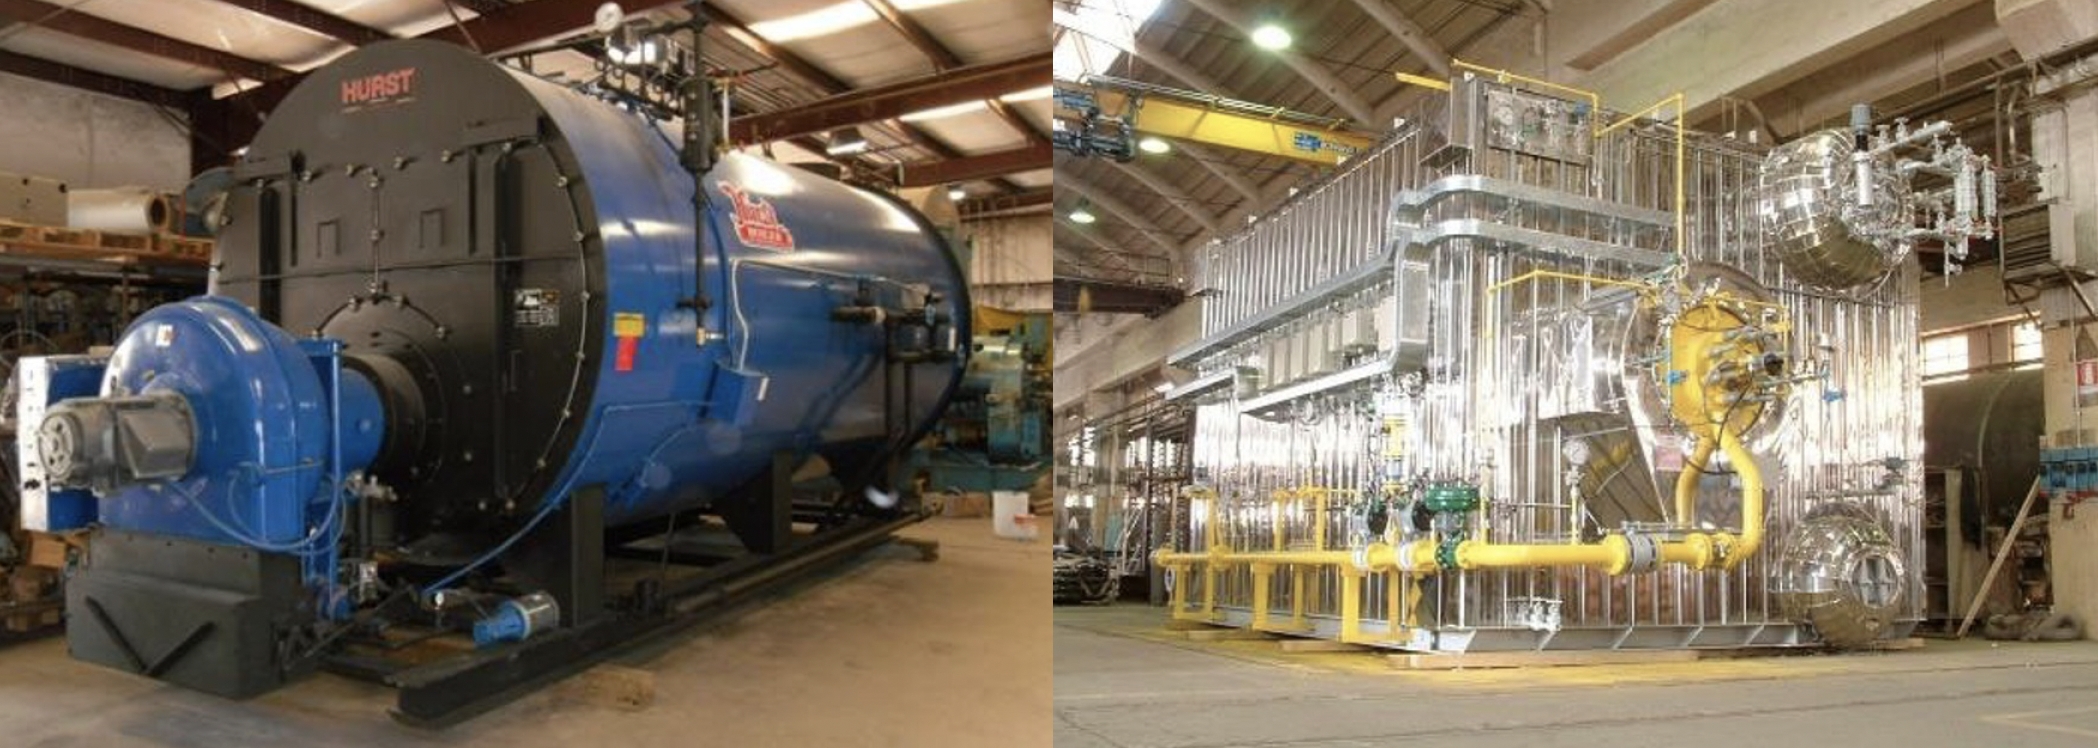
When commissioning a new Steam Boiler Unit or a Boiler just being retubed, it is imperative to perform a “Boil Out” procedure before placing the system into service. Generally, this is done following initial start-up, but can be performed beforehand. Unfortunately, boiler manufacturers do not perform this before shipment of the equipment (Note: Miura Steam Boilers (Water Tubes) do come from the manufacturer already boiled out.)
Why perform a Boil Out?
Having a clean waterside surface of the boiler interior is important, The effectiveness of any water treatment will be affected by the success of the boil out. A proper boil out will ensure that the waterside conditions remain stable and are not affected by any remaining debris from the manufacturing process.
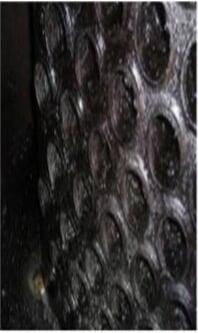
Oil, grease, and other various coatings used in the manufacturing process adhere to surfaces in the interior of the unit. This can lead to loss of heat transfer efficiency, tube hot spots, corrosion cells, and even worse… tube failure.
Another reason to remove these oil byproducts in a steam system is that it will cause foam formation on the boiler's water line. Water tension properties of oil floating on water will cause surging in the boiler, which sometimes cannot be visualized by just looking at the sight glass.
How?
11 Steps to performing a proper boil out:
- Have installation company (mechanical) inspect the waterside of the system and physically remove any debris that they can. It may be necessary to use a high-pressure wand and hose to wash out debris before boiling out.
- It is recommended to use a temporary site glass during the procedure as it may stain during the cleaning. Install final site glass after cleaning.
- Have the onsite mechanical fill the steam boiler unit with softened make-up water quality at a minimum (Recommended temperature of > 70 ˚F). The stopping fill point is when the water reaches the point just below the lowest manhole cover on the upper drum. This will allow for expansion of the water as it is boiled out to atmosphere.
- Add the appropriate ratio of caustics, polymerics, and sulfite compounds to the boiler (or Feed Tank). One method is to add the chemical to the feedwater/deaerator, then fill with that water. This ensures that the Feed Tank is cleaned as well as the piping leading to the boiler but be wary of damage that can occur to brass components such as pump impellers. Second, less potential damaging option is to add it to the manhole once the water level is where it needs to be, directly into the boiler itself. Seal manhole once ready to boil out.
- Fire the boiler at a low rate, according to the boiler manufacturers recommendations per their IOM.
- Close the steam vents when steam begins to flow from them (except those specified by the manufacturer on the units containing superheaters.)
- Raise the boiler pressure for units that run less than 100 PSI up to their normal operating levels and maintain this pressure for approximately 48 hours (if this time is obtainable). For high pressure boilers (over 100 psi), boil out at one-half the normal operating pressure. This is normally the pressure required to obtain proper circulation in the boiler. However, in all cases, follow the boiler manufacturer’s recommendation on the pressure required for circulation.
- After 8 hours of circulation under pressure, blowdown the boiler to drop the water level the amount of ½ of the gauge glass. Then refill it to the top of the gauge glass. The number of times the boiler should be blown down and refilled varies, depending on the boiler style itself.
- After the maximum of 48 hours has expired, cool the boiler slowly, and then drain.
- Remove the manholes and flush the boiler thoroughly with a high-pressure hose. If any oil or scum remains in the boiler, repeat the boil out procedure until internal surfaces are clean.
- Once system has finalized the boiling out of the unit, immediately start your normal water treatment program to prevent any flash corrosion or scale.
Suspect oil or grease byproducts are still present?
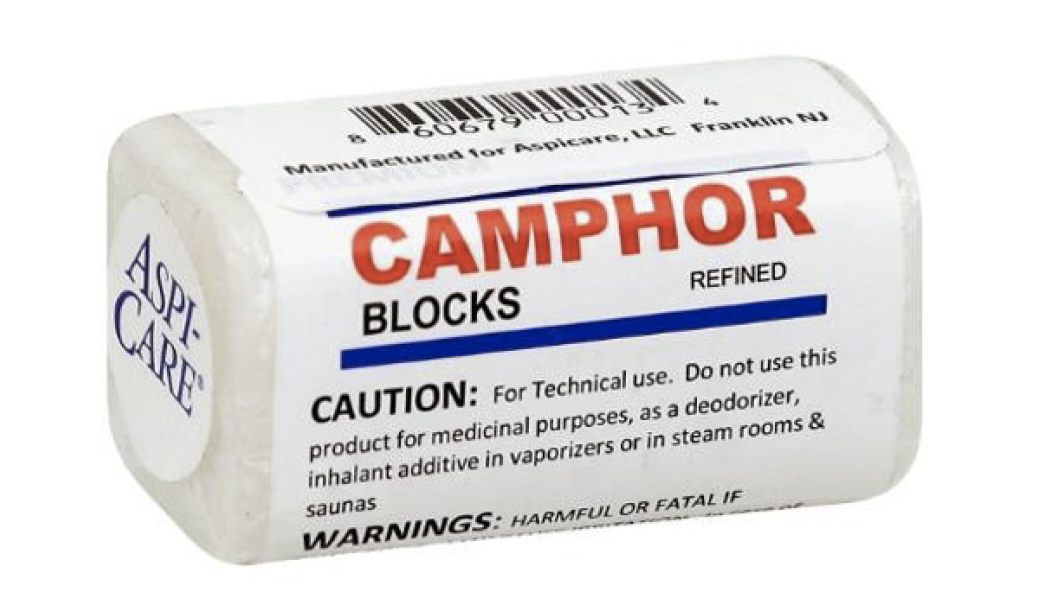
Run a Camphor test!
Run a Camphor test on the water collected from the waterside skimmer line. It is important to test the skimmer line and not bottom blowdown sample as oil is less dense than water. Take a glass cup, add your water sample to it. Take a solid block of Camphor and scrap small shavings onto the top of the water.
If the shavings dance around, there are no oil products present, just water. If the shavings do not dance, but instead clump together, then there is a presence of oil in the water.
If a Camphor test does not provide conclusive answers, please utilize our testing facilities to perform more sensitive analysis.